
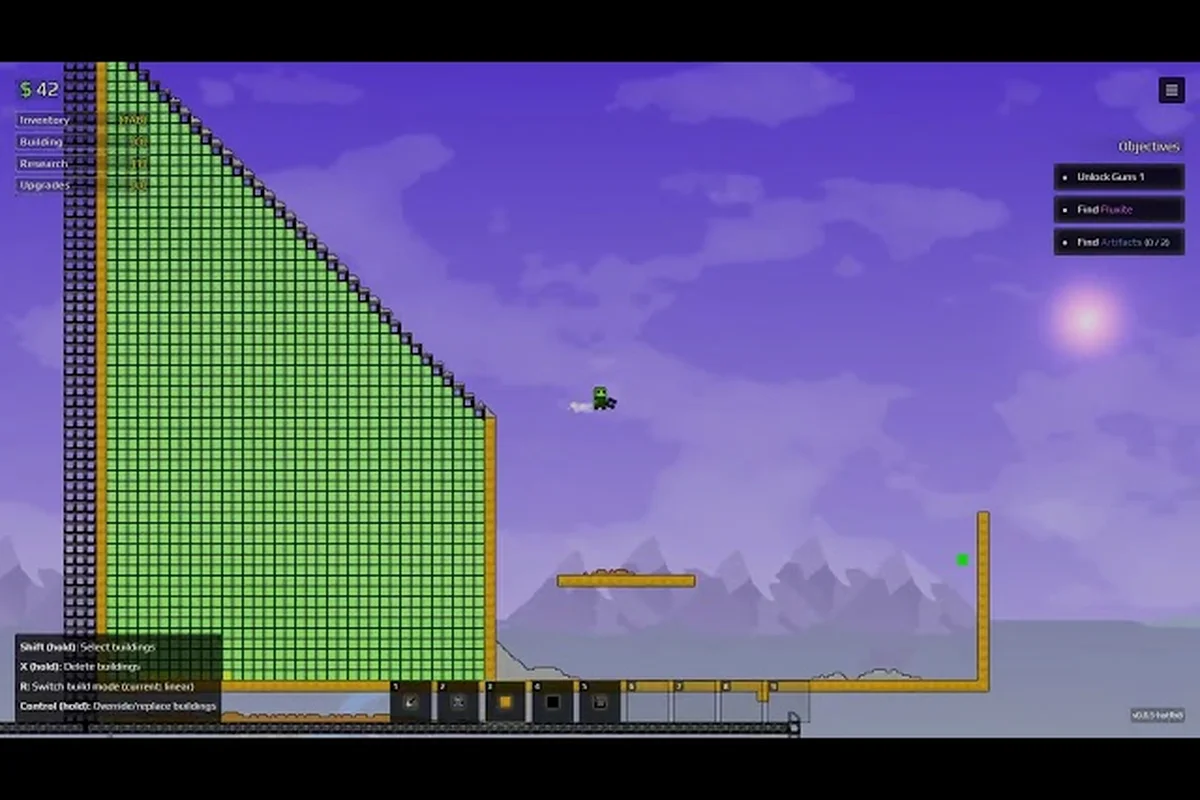
Sandustry utility buildings form the backbone of every functional factory, yet most new players skip them in favor of flashier production machines. That is a costly mistake because pumps, lifts, and conveyor infrastructure determine whether your sand, water, and ore actually reach the machines that need them. Without a solid utility network, even the most efficient smelter setup will starve for resources while your grabbers sit idle.
The pixel-simulation engine treats every grain of sand, drop of water, and wisp of steam as an independent particle, which means your infrastructure choices directly affect how materials flow through your base. Understanding these systems early saves you hours of rebuilding later. Get the latest Sandustry utility buildings breakdown below, covering every essential structure, their mechanics, and the exact layouts that keep production lines running at full capacity.
Utility Building Infrastructure Roles
Utility buildings in Sandustry are the unsung heroes of any automated base. While production structures like the smelter and furnace convert raw materials into useful products, utility buildings handle the critical tasks of moving materials, managing fluids, and providing power or control to your growing factory. They are the difference between a chaotic pile of sand and a streamlined production line.
The official Sandustry website describes the game as a factory sim where every pixel behaves individually, and that granularity means your utility network must be designed with care. A single misplaced pump or a poorly angled lift can create bottlenecks that ripple through your entire operation. The core utility categories include:
-
Fluid handling — pumps, pipes, and reservoirs that move water, steam, and other liquids
-
Material transport — grabbers, lifts, and conveyor systems that shift solid resources
-
Processing support — furnaces and smelters that prepare raw materials for advanced crafting
-
Structural infrastructure — platforms, walls, and supports that keep your factory organized
Each of these Sandustry utility buildings serves a distinct purpose, and mastering them unlocks the ability to build complex, multi-stage production chains. The Grabber is often the first utility building players encounter, and it sets the tone for how you approach automation. It reaches out, grabs nearby items, and deposits them into adjacent machines or containers, making it the fundamental building block of any automated sorting system.
What makes utility buildings particularly interesting is how they interact with the game's physics engine. Water flows downhill and spreads naturally, steam rises and condenses, and sand piles up based on gravity. Your utility network must work with these physics rather than against them, which is why understanding the underlying simulation is just as important as knowing what each building does.
Pump Mechanics and Fluid Management Systems
The pump is arguably the most important Sandustry utility building for any base that relies on water-based processes. Given that the simulation treats water as individual pixels that flow, spread, and evaporate, pumping water efficiently requires understanding how the fluid behaves in different contexts. The official Steam page for Sandustry notes that ice melts to water, water boils to steam, and steam rises and condenses into rain, creating a complete water cycle that your pumps must manage.
How Pumps Interact with the Water Cycle
Pumps extract water from sources and push it through your pipe network to wherever it is needed. Because water spreads across surfaces and gets absorbed by sand, you need to position pumps strategically to maintain a steady supply. The key insight is that pumps work best when placed at the lowest point of a water reservoir, since gravity naturally collects fluid there.
The water cycle creates interesting challenges for pump placement. When you heat water to produce steam, that steam rises and eventually condenses back into water droplets that fall as rain. This means you can potentially recycle water in a closed loop, but only if your pumps and collection systems are positioned to catch the condensation. Community reports suggest that players who master this recycling loop can sustain water-intensive operations indefinitely without external water sources.
Pump Placement Strategies for Different Scenarios
Different base layouts require different pump configurations, and the table below breaks down the most common scenarios:
| Scenario | Recommended Setup | Key Consideration |
|---|---|---|
| Small starter base | Single pump at reservoir bottom | Keep pipe runs short to minimize pressure loss |
| Large-scale water processing | Multiple pumps in parallel | Balance intake to avoid draining sources too quickly |
| Steam recycling loop | Pump below condensation point | Position collection basins where rain accumulates |
| Desert biome operations | Deep pumps with extended pipes | Sand absorbs water, so seal reservoirs properly |
For most players, the single pump setup works fine for the first hour of gameplay, but you will quickly outgrow it as your smelter and furnace demand more water. Upgrading to a parallel pump configuration early saves you from constant bottleneck headaches, and the extra infrastructure pays for itself through uninterrupted production.
Material Transport with Grabbers and Lifts
Moving solid materials is the other half of the utility equation, and grabbers are the workhorses of this system. These versatile machines reach out, pick up nearby items, and transfer them to adjacent machinery or storage. Because they operate on a simple grab-and-release cycle, they are easy to chain together into complex transport networks that can move materials across your entire base.
The Sandustry grabber guide from the official demo trailer shows these machines in action, and the key takeaway is that grabber orientation matters enormously. Each grabber has a specific reach and a preferred drop-off direction, so you need to plan your layouts with these constraints in mind. A grabber that faces the wrong way will simply pass materials back and forth without ever delivering them to your production line.
Grabber Chain Configurations
Building effective grabber chains requires understanding how the machines interact with each other. The most reliable pattern is a linear chain where each grabber passes materials to the next one in sequence. This works well for straight-line transport, but you will eventually need to branch out and create sorting networks that direct different materials to different destinations.
| Chain Type | Best Use Case | Material Throughput | Complexity |
|---|---|---|---|
| Linear chain | Straight transport runs | High | Low |
| Branching network | Multi-destination sorting | Medium | Medium |
| Loop system | Continuous circulation | Very high | High |
| Hybrid setup | Large factory complexes | Variable | Very high |
Lifts complement grabbers by handling vertical transport, which is essential when you build multi-story factories. Since sand and other materials pile up naturally, you often need to move resources upward to feed elevated production lines. Lifts provide a reliable way to do this, though they require careful positioning to ensure grabbers can load and unload them properly.
The Sandustry all machines guide covers the full range of transport options, and it is worth reviewing before you commit to a particular layout. The key principle is that your transport network should match your production needs, not the other way around. Build the infrastructure that your smelter and furnace setups require, and you will avoid the constant reconfiguration that plagues poorly planned bases.
Smelter and Furnace Processing Guide
The smelter and furnace are the primary processing buildings in Sandustry, converting raw materials into refined products that unlock advanced crafting. While they are technically production buildings rather than utility structures, they depend so heavily on your utility network that any Sandustry utility buildings guide must cover them in detail. Without proper pumps, grabbers, and transport infrastructure, these machines will sit idle regardless of how well they are designed.
Smelter Operations and Material Requirements
The smelter processes raw ore into refined metal, and it requires a steady supply of both ore and fuel to operate continuously. According to the simulation details on the official Steam page, slag can be burned and processed further, which means even waste products have value in the right setup. This creates interesting opportunities for closed-loop production where nothing goes to waste.
| Input Material | Output Product | Fuel Requirement | Processing Time |
|---|---|---|---|
| Raw iron ore | Refined iron | Coal or wood | Medium |
| Raw copper ore | Refined copper | Coal or wood | Medium |
| Sand | Glass | High heat fuel | Long |
| Slag | Reusable material | Any burnable | Short |
The furnace serves a complementary role, providing high-temperature processing for materials that require more heat than the smelter can generate. Glass production from sand is a classic furnace application, and it demonstrates how the two machines work together in a complete production chain. The furnace also handles the melting and boiling processes that feed into the water cycle, making it a versatile addition to any base.
Optimizing Processing Throughput
Getting the most out of your smelter and furnace requires more than just feeding them materials. You need to ensure that fuel delivery is consistent, output materials are removed promptly, and waste products are handled appropriately. The table below outlines the key optimization points:
-
Fuel management — maintain a buffer of fuel near each processing machine to prevent downtime
-
Output extraction — position grabbers to remove finished products as soon as they are produced
-
Heat control — monitor temperature levels to avoid wasting fuel on overheated machines
-
Waste handling — route slag and other byproducts to secondary processing or disposal
Community testing suggests that players who integrate their smelter and furnace setups with a well-designed utility network achieve 30-40% higher throughput compared to those who treat processing as an isolated activity. The difference comes down to eliminating the small gaps and delays that accumulate when materials have to wait for transport.
Mining Tools and Resource Extraction Infrastructure
No Sandustry utility buildings guide would be complete without covering the mining tools that feed your entire production chain. While grabbers and pumps handle transport and fluid management, mining tools are responsible for extracting raw resources from the environment. The recent addition of a new drill that can break through bedrock, showcased in the official Sandustry video, demonstrates how mining technology continues to evolve.
Essential Mining Tools for Different Stages
The mining tools available to you depend on your progression stage, and each tool serves a specific purpose in the resource extraction chain. Early game tools are simple and manual, while late-game options offer automated extraction that feeds directly into your utility network.
| Tool | Function | Unlock Stage | Automation Level |
|---|---|---|---|
| Hand pickaxe | Manual ore extraction | Early game | None |
| Basic drill | Semi-automated mining | Mid game | Partial |
| Advanced drill | Automated extraction | Late game | Full |
| Bedrock drill | Breaks through bedrock | End game | Full |
The bedrock drill deserves special attention because it fundamentally changes what is possible in terms of base expansion. Previously, bedrock formations were permanent barriers that forced players to build around them. With the new drill, you can excavate through these barriers and access resource deposits that were previously unreachable. This opens up entirely new base layouts and makes previously impractical locations viable for large-scale operations.
Integrating Mining with Your Utility Network
The most effective Sandustry mining tools setups feed directly into your transport infrastructure, creating a seamless flow from extraction to processing. This integration requires careful planning because mining operations tend to expand outward while your processing facilities remain in a fixed location. The solution is to build extensible transport lines that can be extended as your mining operations grow.
According to community reports, the best approach is to establish a central processing hub and then build mining outposts that connect back to it via grabber chains or lift systems. This creates a hub-and-spoke layout that scales efficiently as you add new mining operations. The key is to leave room for expansion when you initially lay out your transport network, since retrofitting existing lines is significantly more difficult than building them with future growth in mind.
Utility Infrastructure Optimization
Once you understand the individual Sandustry utility buildings, the next step is combining them into cohesive systems that maximize efficiency. Advanced layouts integrate pumps, grabbers, lifts, smelters, and furnaces into a single unified network that processes raw materials from extraction to finished product with minimal manual intervention.
Modular Utility Building Layouts
The most successful Sandustry factories are built from reusable modules that can be replicated and connected as your operation grows. Each module handles a specific function, such as ore processing, fluid management, or material transport, and modules connect through standardized interfaces. This approach makes expansion predictable and reduces the risk of design errors propagating through your base.
| Module Type | Core Components | Input | Output |
|---|---|---|---|
| Mining module | Drill, grabber chain | Raw ore | Extracted material |
| Processing module | Smelter, furnace, grabbers | Raw material | Refined product |
| Fluid module | Pumps, pipes, reservoirs | Water source | Distributed fluid |
| Transport module | Lifts, grabber networks | Material input | Material output |
The modular approach also makes troubleshooting easier because you can isolate problems to specific modules rather than hunting through an interconnected mess. When production slows down, you can check each module in sequence and identify the bottleneck quickly. This saves substantial time compared to debugging a monolithic factory layout.
Utility Layout Errors
Even experienced players make mistakes when designing their utility networks, and being aware of the most common issues can save you from costly rebuilds. The Sandustry buildings guide covers many of these pitfalls in detail, but the most frequent problems include:
-
Undersized fluid infrastructure — pumps and pipes that cannot handle peak demand cause production stalls
-
Grabber orientation errors — machines that face the wrong direction waste cycles moving materials back and forth
-
Missing buffer storage — production lines without input buffers stop whenever upstream delivery is delayed
-
Ignoring gravity — layouts that fight the physics engine require constant maintenance and adjustment
The single most impactful improvement for most players is adding buffer storage between production stages. A small buffer of raw materials before your smelter, for example, absorbs fluctuations in upstream delivery and keeps the smelter running at full capacity even when mining output varies. This simple addition typically increases overall throughput by 20-30% with minimal infrastructure investment.
Frequently Asked Questions
What are the most important Sandustry utility buildings for beginners?
The Grabber and the pump are the two essential utility buildings for new players. The Grabber automates material movement between machines, while the pump ensures a steady water supply for processing operations. Master these two buildings first, then expand into lifts and advanced transport systems as your base grows.
How do I set up an efficient grabber chain?
Start with a linear configuration where each grabber passes materials to the next in sequence. Ensure every grabber faces the correct direction and has clear access to its target. Add buffer storage at the end of each chain to absorb delivery fluctuations, and test the chain with a small material flow before scaling up.
Can I recycle water using pumps and the steam cycle?
Yes, you can create a closed-loop water system by positioning pumps below condensation points and collecting basins where steam condenses into rain. Heat water to produce steam, let it rise and condense, then pump the collected water back into your system. This approach sustains water-intensive operations without external sources.
What is the best layout for smelter and furnace setups?
Use a hub-and-spoke design with processing machines at the center and mining operations connected via transport lines. Maintain buffer storage before each machine to prevent downtime, and route waste products like slag to secondary processing. This layout scales efficiently as you add new mining operations.
How do the new bedrock drills change base design?
The bedrock drill lets you punch through Sandustry’s unbreakable floor, so you can sink utility cores, conveyor loops, and storage vaults beneath your main factory. That frees surface space for smelters and drills, while keeping power lines and water pipes safely tucked out of the way.