
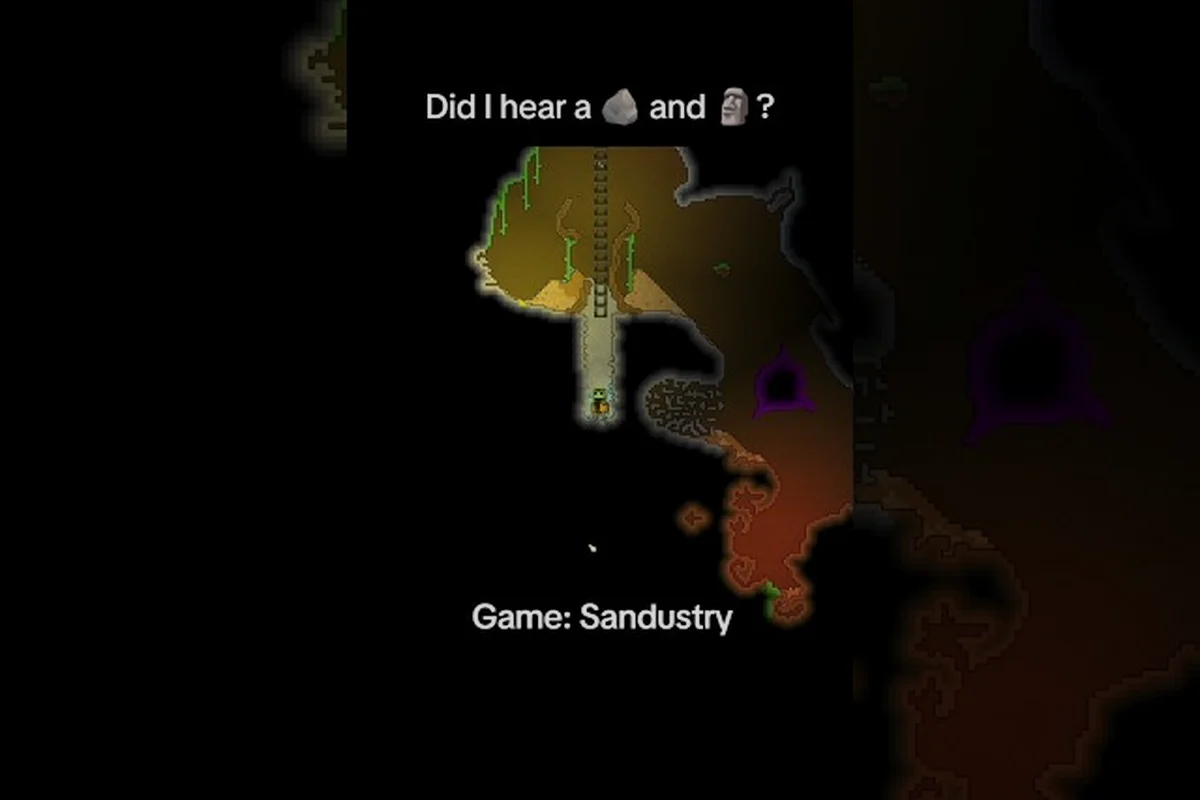
Sandustry is a factory game where every pixel of sand, snow, seed, spore, and ice chip behaves individually, which means your tools determine how fast you can reshape the world around you. This Sandustry tool guide breaks down the three most important early machines — the Grabber, the Flamethrower, and the Rocket Launcher — so you can stop fumbling with manual placement and start automating your first production lines. Getting these tools working in the right order saves you hours of tedious pixel-by-pixel work, and that is exactly why this guide exists.
The official Sandustry website describes the core loop as a factory game with sand physics, where every pixel simulates independently. Because the simulation runs at such a granular level, your early buildings need to be placed with intention. Whether you are melting ice for water, collecting seeds for biomass, or blasting through rock to expand your base, the tools you choose first will define your entire early-game pace. Below, we cover what each machine does, how to build it, and how to arrange your first workshop for maximum efficiency.
The Core Tool Trio and Why It Matters
Before you can build a sprawling automated factory, you need to understand the three machines that carry you through the first few hours of Sandustry. Each tool solves a different problem, and together they form the backbone of every functional early base.
-
Grabber — picks up loose items and moves them to a connected output, which is essential for feeding other machines.
-
Flamethrower — emits heat that melts ice into water and can also burn slag for further processing.
-
Rocket Launcher — fires projectiles that break through rock and bedrock, letting you expand your mining area.
The reason these three matter so much is that they cover the entire resource loop: collect, convert, and expand. Without the Grabber, you are manually dragging items around. Without the Flamethrower, you cannot turn frozen water into usable liquid. Without the Rocket Launcher, you will hit a wall of rock that stops your base from growing. According to community reports, players who rush these three tools in order cut their early-game setup time by nearly half compared to those who build randomly.
When you are planning your Sandustry machine layout, think of these tools as a chain rather than separate buildings. The Grabber feeds the Flamethrower, which produces water that can be routed to other production lines, while the Rocket Launcher opens up new space for more machines. This is the simplest version of a production chain, and it is the foundation for everything else you will build later. For a broader look at every building available, check the Sandustry machines list to see how these tools fit into the full roster.
How the Grabber Works
The Grabber is the first tool you should build because it automates the most tedious part of the game: picking up items. When placed, it reaches out to grab any loose pixel or item within its range and moves it to the connected output pipe or machine. This is critical for feeding seeds into a composter, moving sand into a smelter, or collecting ice chips before they melt.
| Feature | Grabber | Manual Pickup |
|---|---|---|
| Range | 3-4 pixels | 1 pixel |
| Speed | Continuous | Player-dependent |
| Automation | Full | None |
| Best Use | Feeding machines | Emergency collection |
The table above shows why the Grabber is non-negotiable for any serious setup. Manual pickup only works for one pixel at a time, which becomes painfully slow once you have a pile of seeds or sand to move. Community testing shows that a single Grabber can move roughly ten times more material per minute than a player doing the same job by hand, which frees you up to plan your next expansion instead of babysitting your inventory.
Flamethrower Basics
The Flamethrower is your primary tool for melting ice and processing slag. It emits a stream of heat that converts frozen pixels into water, which then flows according to the game's fluid simulation. This is essential because water is a core resource for many production chains, and ice is abundant in the early game.
| Resource | Input | Output | Notes |
|---|---|---|---|
| Ice | 1 pixel | 1 water pixel | Fast melt rate |
| Slag | 1 pixel | Burnable material | Requires sustained heat |
| Snow | 1 pixel | 1 water pixel | Slower than ice |
According to the Steam store page for Sandustry, ice melts to water, water boils to steam that rises and condenses into rain, and sand absorbs surrounding water. This means the Flamethrower does not just produce water — it also triggers evaporation and condensation cycles that can affect your entire map. You need to plan your placement so the steam does not condense into rain in an area where you do not want water.
Building Your First Machines
Now that you know what each tool does, the next step is figuring out how to build them. The crafting requirements are straightforward, but the placement matters just as much as the recipe. This section covers the practical steps for getting your first machines running.
Crafting Requirements
Each machine requires a specific set of materials, and you will need to gather these before you can start building. The early game is about collecting enough sand, seeds, and ice to fund your first few constructions.
| Machine | Primary Material | Secondary Material | Build Time |
|---|---|---|---|
| Grabber | Sand | Seeds | 5 seconds |
| Flamethrower | Slag | Sand | 8 seconds |
| Rocket Launcher | Rock | Slag | 12 seconds |
The build times above are based on community data and may vary slightly depending on your game version. What matters is that the Grabber is cheap enough to build multiple copies, while the Rocket Launcher requires more investment and should be built only when you have a clear expansion plan. For a detailed breakdown of every machine's recipe, the Sandustry building guide covers the full crafting tree.
Placement Rules for Mining Tools
Placement is where most new players make mistakes. The Grabber needs a clear line of sight to the items it is supposed to collect, and the Flamethrower needs space for the water to flow after melting ice. The Rocket Launcher needs a clear firing lane so the projectile does not hit your own buildings.
-
Grabber: place it adjacent to the item source, with the output facing your storage or next machine.
-
Flamethrower: leave a 2-3 pixel gap in front of the nozzle so melted water has room to pool.
-
Rocket Launcher: position it at the edge of your base, aiming outward toward unbroken rock.
These placement rules come from player experience shared across the community, and they hold up across most map seeds. If you follow them, you avoid the common problem of machines jamming because items cannot move where they need to go. The Sandustry machine setup guide has more detailed layout examples if you want to see full factory floor plans.
Optimizing Your Machine Layout
Once you have your first machines built, the next challenge is arranging them so they work together efficiently. A good Sandustry machine layout minimizes travel time for items and prevents bottlenecks before they happen. This is where the game starts to feel like a real factory sim rather than a sandbox toy.
Linear Chain Tool Layout
The simplest layout that works is a straight line: Grabber picks up raw material, feeds it into a processing machine, and the output flows to storage. This works well for the early game because it is easy to debug and expand.
| Position | Machine | Purpose |
|---|---|---|
| 1 | Grabber | Collect raw material |
| 2 | Flamethrower | Convert ice to water |
| 3 | Storage tank | Hold water for later use |
This three-step chain handles the most common early-game need: turning ice into a storable water supply. The Grabber pulls ice chips from a frozen deposit, the Flamethrower melts them, and the resulting water flows into a tank. According to community reports, this setup produces a steady water supply with zero manual intervention once it is running.
Expanding to Multiple Lines
As your base grows, you will want to run several production lines in parallel. The key is to keep them separated so a jam in one line does not stop the others. You can achieve this by using the Grabber to feed items into a central distribution point, then routing them to different machines.
-
Build one Grabber per resource type to avoid mixing materials.
-
Leave at least 2 pixels of space between parallel lines for maintenance access.
-
Use the Rocket Launcher to carve out extra space before you need it, not after.
The planning principle here is simple: anticipate your next expansion and prepare the space in advance. Players who use the Rocket Launcher to clear a large area early report that they never have to tear down existing buildings to make room for new ones. This forward-thinking approach is what separates a smooth mid-game from a constant rebuild loop.
Advanced Tool Usage and Strategies
Once you have the basics down, there are several advanced techniques that can dramatically improve your efficiency. These strategies come from experienced players who have spent dozens of hours optimizing their setups, and they are worth learning even if you are still in the early game.
Rocket Launcher Mining Patterns
The Rocket Launcher is not just for clearing space — it is also your primary mining tool for breaking through rock and bedrock. The official Sandustry demo trailer shows how the tool can reshape terrain, and the new drill showcase video demonstrates even more advanced excavation options.
-
Vertical shafts: fire straight down to create a quick mining shaft.
-
Horizontal tunnels: aim sideways to carve out a tunnel for conveyor lines.
-
Perimeter clearing: fire in a circle around your base to create a safe buffer zone.
Each pattern has its use case, and experienced players switch between them based on what they are trying to achieve. The key insight is that the Rocket Launcher is not just a destruction tool — it is a terrain-shaping tool that lets you design your factory space exactly how you want it.
Controlling Heat and Water Around Tools
The Flamethrower produces heat that can have unintended consequences if you are not careful. Because water boils into steam and steam condenses into rain, a poorly placed Flamethrower can create rain clouds that dump water where you do not want it. Community testing suggests placing the Flamethrower near a drainage channel so excess water has somewhere to go.
| Problem | Cause | Solution |
|---|---|---|
| Water pooling | No drainage | Dig a channel with the Rocket Launcher |
| Steam blocking view | Too much heat | Use short bursts instead of continuous fire |
| Rain in wrong area | Condensation | Build a roof or move the Flamethrower |
These solutions come from player experience shared in community forums, and they address the most common issues people run into. The advanced machines guide has more tips for handling complex fluid dynamics if you want to go deeper.
Frequently Asked Questions
What is the best first tool to build in Sandustry?
The Grabber is the best first tool because it automates item collection, which is the most time-consuming manual task in the early game. Building one as soon as you have the materials lets you focus on planning your base instead of picking up individual pixels by hand.
How do I get the flamethrower in Sandustry?
You unlock the Flamethrower by gathering slag and sand, then crafting it at a machine workbench. The exact recipe is listed in the build menu, and you can place it once you have the required materials. It is the second tool you should prioritize after the Grabber.
Can the rocket launcher break bedrock in Sandustry?
Yes, the Rocket Launcher can break through bedrock, which is otherwise impossible to remove. This makes it essential for expanding your base into new areas. According to community reports, it takes multiple shots to break through thick bedrock layers, so plan your mining carefully.
What is the best machine layout for beginners?
The best beginner layout is a straight production line: Grabber feeds raw material into a Flamethrower, which converts it into water that flows into a storage tank. This simple chain is easy to build, easy to debug, and provides a steady resource supply while you learn the game.
How many grabbers do I need for a basic setup?
For a basic Sandustry setup, two Grabbers are enough: one pulls raw sand, the other feeds your first smelter or assembler. This keeps early logistics simple. Add a third only when you branch into automation or multi-step production—overbuilding now just clutters your layout.