
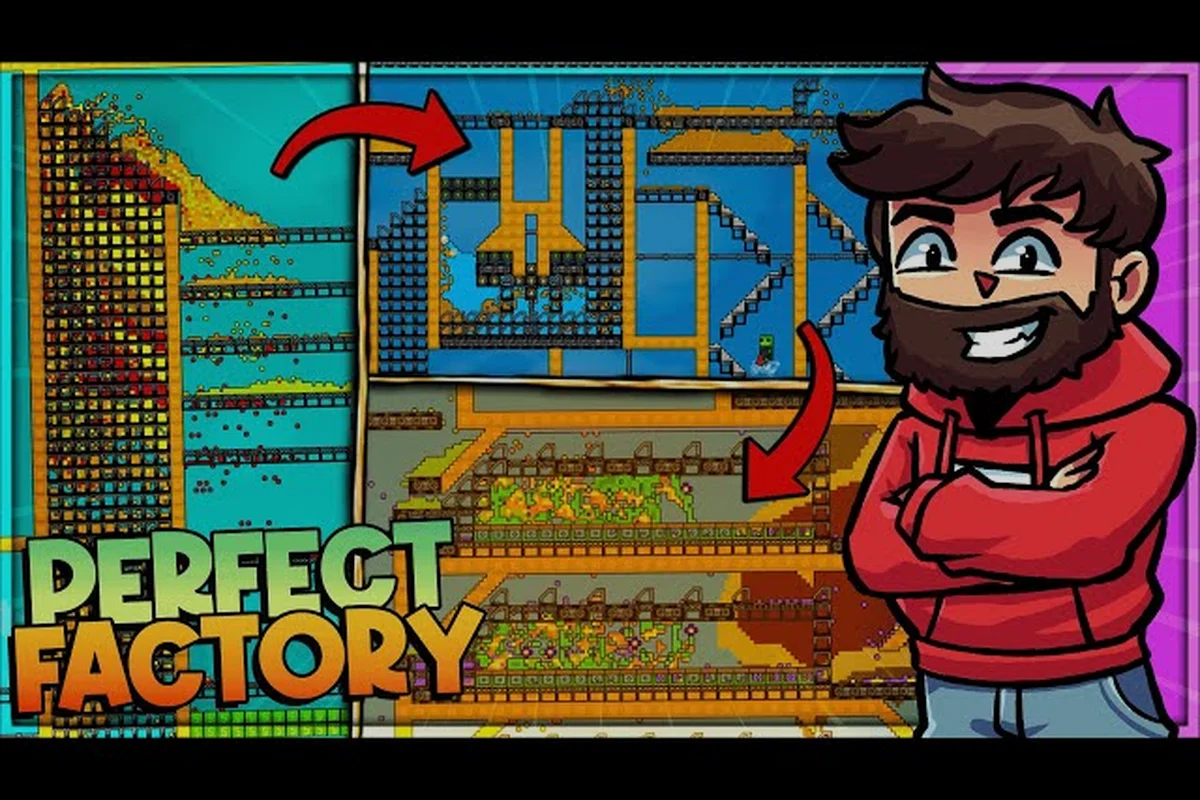
Setting up a Sandustry automated production line transforms the way you play, because it frees you from constant micromanagement and lets the factory run while you explore or plan the next expansion. Every pixel in this factory game simulates individually, which means sand, snow, seeds, spores, and ice chips each behave independently, and that granularity creates both opportunity and chaos when you start scaling. The value of automation becomes obvious the moment you realize that manual hauling and hand-crafted sorting simply cannot keep pace with a growing operation, so learning to build self-regulating systems is the difference between a hobby build and a genuine industrial base.
This guide walks you through the core pillars of hands-free operation, including conveyor-based Sandustry item transport, fluid handling with the Sandustry water pump, and the logic behind a reliable Sandustry sorting system. We will also cover Sandustry steam automation for power and processing, plus Sandustry ore automation so raw materials flow straight from the ground into your machines without you lifting a finger. By the end, you will have a clear blueprint for a factory that feeds itself, sorts itself, and keeps producing while you focus on the next big build.
The Core Loop of Sandustry Automated Production
Understanding the feedback loop is the first step toward a self-serving factory, because every automated system in Sandustry depends on three connected stages: extraction, transport, and processing. When these stages link together without manual intervention, you achieve true hands-free operation, and the factory effectively becomes a living machine that consumes raw input and produces finished goods on its own. The challenge is that each stage has its own quirks, especially when you account for the pixel-based simulation where materials can behave in unexpected ways. The typical production chain looks something like this:
-
Extraction pulls raw materials from the environment, whether that is sand from a reservoir, ore from a deposit, or water from a source pool.
-
Transport moves those materials along belts, through pipes, or via drones to the next processing station.
-
Processing converts raw input into usable output, such as smelting ore into metal or boiling water into steam.
-
Storage holds finished goods until you need them, preventing bottlenecks when downstream machines are slower than upstream ones.
Each stage feeds into the next, and the beauty of a well-designed system is that it self-regulates. If the processing station is full, the belts back up and the extractor stops pulling new material, which prevents waste and keeps the whole line stable. This kind of self-balancing behavior is what separates a fragile setup from a robust one, and it is the foundation of every serious Sandustry automated production build.
| Stage | Primary Tools | Common Bottleneck | Automation Level |
|---|---|---|---|
| Extraction | Drills, pumps, harvesters | Resource depletion | High |
| Transport | Belts, pipes, drones | Line congestion | Medium |
| Processing | Furnaces, boilers, assemblers | Heat or power supply | High |
| Storage | Chests, silos, buffer tanks | Space allocation | Low |
The key insight is that each stage needs its own buffer, because a direct connection between extractor and processor will stall the moment either side hiccups. Community reports suggest that players who add even a small buffer between stages see dramatically fewer interruptions, and that simple change often doubles the effective throughput of the entire line. Once you internalize this loop, you can start designing systems that run for hours without attention, which is the real goal of Sandustry automated production.
Building a Reliable Sandustry Sorting System
A sorting system is the brain of your automated factory, because it decides where every item goes and prevents the chaos that comes from mixed material streams. Without sorting, your belts will clog with a jumble of sand, ore, and processed goods, and the whole line grinds to a halt while you manually untangle the mess. The Sandustry sorting system solves this by using filters and splitters to route each material type to its designated destination, and once configured correctly, it runs indefinitely without intervention.
Filter Placement and Priority Logic
Filters are the core component of any sorting setup, and their placement determines how efficiently your system handles mixed streams. The general rule is to place filters as early as possible in the line, because sorting a single stream into multiple outputs is far easier than trying to extract one material from a tangled mess further downstream. Priority matters too, because high-volume materials like sand should be filtered first, while rare items like processed metals can wait until later in the chain. A typical sorting array looks like this:
-
Primary filter pulls the most common material (usually sand) off the main line into a dedicated storage or processing branch.
-
Secondary filter catches the next most common material (often ore) and routes it to the smelting area.
-
Tertiary filter handles specialty items like seeds or spores, which might feed an automated farm.
-
Overflow line catches anything that does not match a filter, preventing unexpected materials from jamming the system.
The beauty of this approach is that it scales with your needs, because you can add more filter stages as you introduce new materials to the line. Players report that a well-tuned Sandustry sorting system can handle five or six different material types without any manual intervention, and the only maintenance required is an occasional check to ensure filters have not been damaged by environmental effects.
Handling Overflow and Backpressure
Every sorting system eventually faces the problem of overflow, because production rates rarely match consumption rates perfectly. When a storage bin fills up, the filter keeps pushing material onto the line, and that creates backpressure that can stall the entire system. The solution is to build overflow routes that divert excess material to a secondary storage area or a disposal chute, and experienced players recommend always having at least one overflow path in any sorting design.
| Material Type | Filter Priority | Destination | Overflow Handling |
|---|---|---|---|
| Sand | 1 | Glass furnace | Secondary silo |
| Iron ore | 2 | Smelter | Buffer chest |
| Coal | 3 | Boiler feed | Overflow bin |
| Seeds | 4 | Farm plot | Compost pit |
The overflow path also serves a second purpose, because it gives you a visual indicator of system health. If the overflow line starts running constantly, that tells you a downstream machine is underperforming or a storage area is full, and you can address the issue before it becomes a crisis. This kind of self-diagnosing behavior is what makes a Sandustry sorting system so valuable, and it is the reason most advanced players build sorting arrays before they expand their production capacity.
Mastering Sandustry Item Transport with Belts and Drones
Transport is the circulatory system of your factory, and choosing the right method for each segment determines how smoothly your materials flow. The Sandustry item transport options range from simple conveyor belts to sophisticated drone networks, and each has its own strengths and weaknesses depending on distance, volume, and terrain. Understanding when to use each method is essential for building a factory that moves materials efficiently without wasting space or power.
Conveyor Belt Fundamentals
Conveyor belts are the workhorse of any automated factory, because they provide continuous, predictable movement for bulk materials over short to medium distances. They are cheap to build, easy to extend, and require no power, which makes them the default choice for most transport needs. The main limitation is that belts occupy space and can become congested when multiple lines converge, so you need to plan your belt routes carefully to avoid bottlenecks. Key considerations for belt design:
-
Belt speed determines throughput, and faster belts move more items per minute but cost more resources to build.
-
Merging lines requires careful spacing, because two belts feeding into one will create a bottleneck unless the input rate matches the output capacity.
-
Elevation changes need ramps or lifts, and these transition points are common failure spots where items can get stuck.
-
Buffer zones before processing stations absorb fluctuations in supply, preventing starvation when the upstream line hiccups.
For a deeper dive into belt mechanics, check out our conveyor belt setup guide which covers advanced merging techniques and throughput optimization. The key takeaway is that belts excel at moving high volumes of material over short distances, and they form the backbone of most Sandustry item transport systems.
Drone Networks for Long-Distance Logistics
When your factory spans a large area, belts become impractical because the sheer length of conveyor lines eats up space and creates maintenance headaches. Drones solve this problem by flying directly from pickup point to drop-off point, bypassing terrain obstacles and reducing travel time dramatically. The tradeoff is that drones require charging stations and have limited carrying capacity, so you need to balance their numbers against your throughput requirements.
| Transport Method | Best For | Throughput | Power Cost | Space Footprint |
|---|---|---|---|---|
| Conveyor belt | Short, high-volume | Very high | None | Large |
| Pipe | Fluids and gases | High | Low | Medium |
| Drone | Long-distance, low-volume | Medium | High | Minimal |
| Lift | Vertical movement | Medium | Low | Small |
The ideal setup uses a hybrid approach, where belts handle dense material flows within a production cluster and drones shuttle finished goods between distant clusters. This combination gives you the best of both worlds, and it is the strategy most advanced players adopt once their factory grows beyond a single screen. For more on fluid-specific transport, the pipe system guide covers the nuances of moving water and steam through your base.
Harnessing the Sandustry Water Pump for Fluid Automation
Water is the lifeblood of many production chains, because it feeds boilers, cools machinery, and enables a host of chemical processes. The Sandustry water pump is your primary tool for extracting water from natural sources, and mastering its placement and output is essential for any automated factory. The pixel-based simulation means water behaves realistically, flowing downhill and spreading across surfaces, which creates both opportunities and challenges for pump placement.
Pump Placement and Output Optimization
The key to efficient pumping is understanding how water spreads and replenishes in the simulation. A pump placed in a deep pool will draw water continuously, but a pump in a shallow stream may run dry if the water cannot replenish fast enough. Players report that the ideal setup involves creating a small reservoir around the pump intake, which ensures a steady supply even during peak consumption. Best practices for pump placement:
-
Position pumps at the deepest point of a water source to maximize the available volume.
-
Create a containment basin around the intake to prevent water from spreading too thin.
-
Use multiple pumps for high-demand operations, spacing them apart to avoid drawing from the same depleted zone.
-
Elevate the output pipe to create pressure, which helps push water uphill to distant facilities.
The Sandustry water pump also interacts with the game's temperature simulation, because water can freeze or boil depending on environmental conditions. This adds another layer of complexity, because a pump in a cold biome may need insulation or heating elements to keep flowing, while a pump near a heat source might produce steam instead of liquid water. Understanding these interactions is crucial for building reliable fluid automation.
Integrating Pumps into Production Chains
Once you have a reliable water supply, the next step is integrating it into your production chains. Water typically feeds boilers to produce steam, which then drives turbines or powers industrial processes, and this is where Sandustry steam automation comes into play. The steam cycle is a closed loop in many designs, where exhaust steam condenses back into water and returns to the boiler, creating a self-sustaining system that only needs occasional top-ups.
| Component | Input | Output | Role in Chain |
|---|---|---|---|
| Water pump | Water source | Liquid water | Extraction |
| Boiler | Water + fuel | Steam | Processing |
| Turbine | Steam | Power | Generation |
| Condenser | Exhaust steam | Water | Recovery |
This closed-loop design is the hallmark of efficient Sandustry steam automation, because it minimizes water consumption and reduces the load on your pumps. Community data suggests that a well-designed steam loop can recover over 80% of its water, which means a single pump can support a surprisingly large power plant. For more on pipe layouts that support these loops, the pipe layout guide offers proven configurations for fluid circulation.
Scaling Up with Sandustry Ore Automation
Ore processing is where most factories either shine or stumble, because the raw material flows are high-volume and the processing steps are energy-intensive. Sandustry ore automation focuses on creating a seamless pipeline from mining to smelting to finished product, and it requires careful coordination between extraction, transport, and processing systems. The payoff is substantial, because an automated ore line can produce finished metal bars around the clock without any player involvement.
Designing the Ore Pipeline
The ore pipeline starts at the mining site, where drills extract raw ore from deposits, and ends at the smelter, where heat converts raw ore into usable metal. Between those two points, the ore needs to travel, get sorted, and possibly get crushed or refined before smelting. Each step introduces potential bottlenecks, so the design needs buffers and overflow routes at every stage. A typical ore automation pipeline:
-
Mining rig extracts raw ore and deposits it onto a collection belt.
-
Primary transport moves ore to a central sorting area, where it joins other material streams.
-
Ore filter separates ore from other materials and routes it to the crushing station.
-
Crusher breaks large ore chunks into smaller pieces, increasing smelting efficiency.
-
Smelter feed delivers crushed ore to the furnace, which produces metal bars.
-
Product storage collects finished bars for later use or export.
The critical metric for ore automation is throughput, because a slow line will starve your smelters and leave your factory idle. Players report that the most common mistake is undersizing the transport system, where a single belt tries to carry ore from multiple miners and becomes the bottleneck. The fix is to use parallel belts or higher-capacity transport methods, ensuring the line can handle peak production from all connected miners.
Balancing Extraction and Processing Rates
The ultimate goal of Sandustry ore automation is balance, where extraction rates match processing capacity and neither side is starved or overwhelmed. Achieving this balance requires monitoring both sides of the equation and adjusting as your factory evolves. If the smelter is constantly idle, you have excess extraction capacity and can either add more smelters or reduce mining output. If the smelter is always backed up, you need more ore coming in or faster processing.
| Scenario | Symptom | Solution |
|---|---|---|
| Over-extraction | Smelter always full | Add smelters or reduce miners |
| Under-extraction | Smelter frequently idle | Add miners or improve transport |
| Transport bottleneck | Ore backs up on belts | Add parallel lines or faster belts |
| Fuel shortage | Smelter loses heat | Expand fuel supply chain |
The balancing act is ongoing, because as you upgrade your smelters or add new production lines, the equilibrium shifts and you need to re-tune the system. This is where the real art of Sandustry automated production lies, because a factory that runs smoothly today may need adjustments tomorrow as your goals change. The reward for getting it right is a factory that produces metal around the clock, feeding your expansion projects without demanding your constant attention.
Frequently Asked Questions
What is the best starting setup for Sandustry automated production?
Begin with a simple sand-to-glass line, because it requires minimal infrastructure and teaches the core concepts of extraction, transport, and processing. Place a pump or harvester at a sand source, run a short belt to a furnace, and add a filter to separate glass from waste. This compact setup demonstrates the full automation loop.
How do I prevent my Sandustry sorting system from jamming?
Always include an overflow route that catches materials no filter recognizes, because unexpected items will eventually appear in your stream. Additionally, add buffer storage before each processing station so temporary production spikes do not back up the main line. Regular maintenance checks help catch worn filters before they cause major disruptions.
Can drones replace conveyor belts entirely?
Drones excel at long-distance transport but have lower throughput and require charging infrastructure, so replacing belts entirely is rarely efficient. The best approach is hybrid logistics, where belts handle high-volume flows within production clusters and drones shuttle goods between distant areas. This combination minimizes space usage while maintaining adequate throughput for most operations.
How many water pumps do I need for a steam power plant?
The number depends on your plant's scale and condenser setup. One well-placed Sandustry water pump handles a small build, but larger automated production often needs two or three feeding a shared reservoir. A closed-loop condenser slashes demand by roughly 80%, so optimize steam recovery before adding pumps.
What is the most common mistake in ore automation?
Undersizing the transport system is the most common mistake in Sandustry automated production—a single belt can’t handle ore from multiple miners without clogging. Always add buffers between mining and smelting to absorb surges, and design for peak output, not averages. Plan for bursts, or your line starves.