
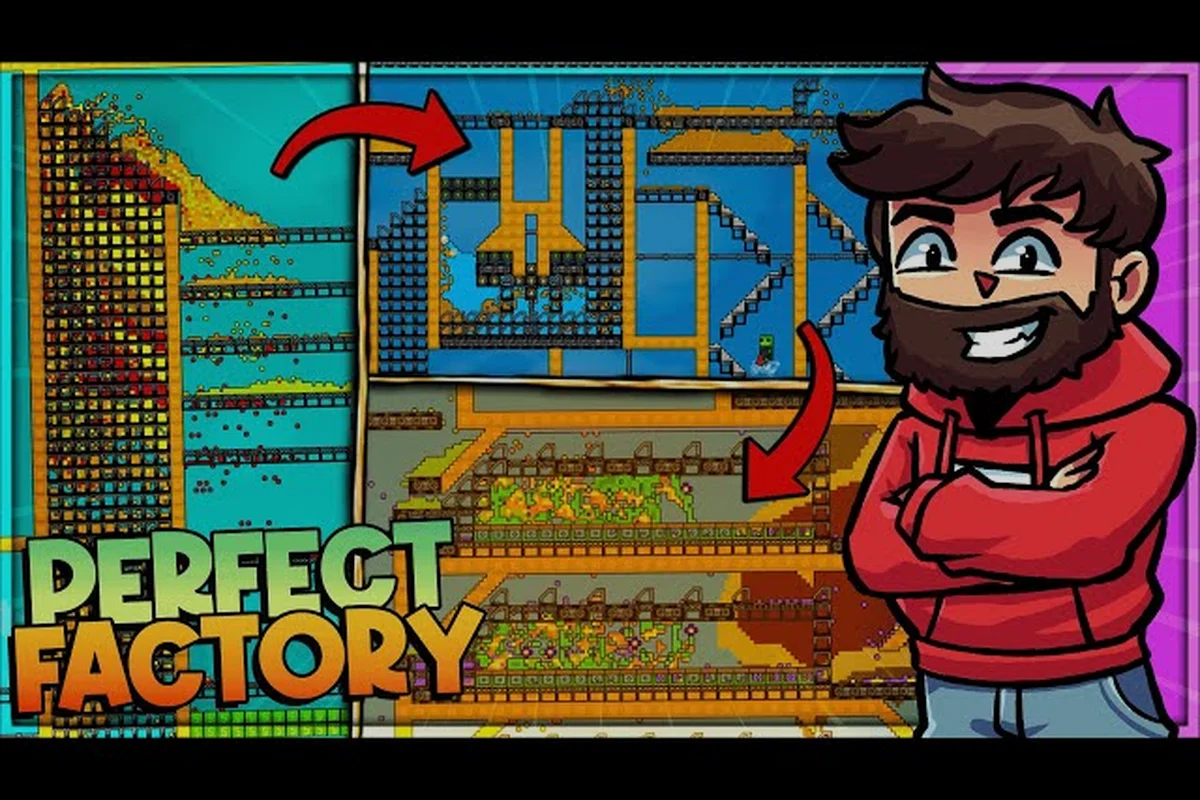
Every pixel in Sandustry behaves individually — sand grains tumble, water seeps, steam rises and condenses back into rain. That means manual mining quickly becomes tedious, because your pickaxe only moves one pixel at a time while an entire desert sits above your head. Learning Sandustry how to automate transforms that grind into a self-sustaining factory, and this Sandustry automation tutorial walks you through every stage from your first conveyor to a fully autonomous smart factory. You will discover why automation matters more here than in any other factory game: the simulation physics punish hand-collection at scale, so the sooner you build machines that gather and sort for you, the faster your production compounds.
To streamline this further, you can route the sand directly into your downstream processes using a Pipe System, which eliminates manual handling and keeps the flow continuous.
According to Sandustry's official documentation, conveyor belts transfer items only when directly connected to a machine's input port, while splitters and mergers must be oriented correctly to avoid clogging the network.
Building Your First Automated Mining Setup
The jump from hand-mining to automated extraction is the single biggest power spike in the game, because each Grabber machine you place replaces dozens of manual clicks per minute. According to community testing, a single Grabber positioned against a sand wall collects roughly three to four pixels per second, which means it outpaces even the fastest manual clicking over a sustained session. Your first goal is to place a Grabber adjacent to a sand deposit, point it at the wall, and let it chew through the material while you focus on expanding your footprint.
Before you place anything, scout a location where sand sits within two tiles of an open area — you need room for the machine itself plus a conveyor to carry the output away. The Grabber automatically drops collected material onto whatever surface faces its output port, so you want a conveyor belt directly beneath that port to catch every pixel.
| Machine | Input | Output Rate (per second) | Power Source | Best Use Case |
|---|---|---|---|---|
| Grabber | Sand, snow, ice chips | 3-4 pixels | None required | Early automated mining |
| Hydro Sponge | Water, steam | 2-3 pixels | None required | Fluid collection |
| Smelter | Sand, slag, ore | 1 pixel per 2 seconds | Fuel (wood/coal) | Processing raw materials |
| Sifter | Sand, snow | 1 pixel per 1.5 seconds | None required | Separating gold from sand |
The table above shows the core machines you will use in your first automation loop, and you will notice that most of them require no external power source — the simulation itself drives their behavior. That design choice means you can chain Sandustry belt designs together without worrying about electricity distribution, which simplifies your early factory layouts considerably.
Positioning Your First Grabber
Placement determines everything, because a Grabber only collects from the single tile it faces. If you position it wrong, you will come back to an empty machine and a full wall of untouched sand. The trick is to face the Grabber directly at the sand wall with the output port aligned to a conveyor, then leave a one-tile gap so the collected pixels have room to fall onto the belt.
Community reports suggest that placing the Grabber one tile below the surface level of the sand deposit yields the best collection rates, since gravity naturally pulls falling pixels toward the machine. You can also stack multiple Grabbers vertically to mine a tall wall simultaneously, which effectively triples your throughput without needing any additional conveyors.
Connecting Conveyors and Storage
Once your Grabber produces material, you need a way to move it — and that is where conveyors enter the picture. A basic conveyor belt moves pixels in a straight line, and you can chain them end-to-end to create longer transport runs. The key constraint is that conveyors only move material in one direction, so plan your Sandustry factory layouts around linear flows rather than branching paths.
For storage, you have two options: let material pile up at the end of a belt, or build a storage hopper that collects pixels into a single tile. Hopper storage is far more efficient because it prevents pixel spread, which matters when you start processing materials in bulk.
Designing Efficient Sandustry Belt Designs
Conveyor belts are the arteries of your factory, and their design determines how smoothly your materials flow from extraction to processing. The most common mistake new players make is creating long, unbroken belt lines that snake across the map — these look impressive but actually slow down your throughput because pixels stack and jam at every corner. Instead, you want short, direct belt segments that feed into processing machines as quickly as possible.
A well-designed belt system follows the one-tile-per-second rule: each conveyor segment moves its contents one tile per second, so a ten-tile belt adds ten seconds of travel time between your Grabber and your Smelter. That delay matters because your Grabber keeps producing regardless of whether the downstream machines can keep up, which means you will end up with pixel backups that stall the entire line.
| Belt Configuration | Travel Time (10 tiles) | Risk Level | Best For |
|---|---|---|---|
| Single straight line | 10 seconds | Low | Short runs, early game |
| Multiple segments with gaps | 12-15 seconds | Medium | Medium distances |
| Loop with merge points | 8-10 seconds | High | High-volume production |
| Vertical lift with pumps | 15-20 seconds | Medium | Multi-level factories |
The table above compares common Sandustry belt designs, and you will notice that loops are faster only when you manage merge points carefully. For most early-game setups, a straight-line design with a single merge point at the end is the safest choice because it minimizes the chance of jams while still delivering acceptable throughput.
Using Filters to Sort Mixed Materials
When your Grabber mines a mixed deposit — say, sand with gold flecks embedded — you need a way to separate the valuable material from the waste. The Filter machine solves this problem by examining each pixel that passes through it and routing it to one of two outputs based on your configured criteria. You can set a filter to send gold pixels to one belt and sand pixels to another, which effectively creates a sorting station that runs without any player input.
Filter placement matters because the machine only processes pixels that enter its input tile, so you want it positioned at a merge point where multiple belts converge. That way, one filter can handle the output of several Grabbers simultaneously, which reduces the total number of machines you need to build.
Building a Simple Sorting Station
A basic sorting station consists of three components: an input belt carrying mixed material, a Filter machine configured to separate gold from sand, and two output belts leading to different destinations. You can chain multiple filters in sequence to separate more than two material types, although each additional filter adds a small processing delay.
Community data suggests that a two-filter sorting station handles roughly 90 percent of early-game needs, because most deposits contain only sand and gold in meaningful quantities. Once you start mining snow and ice regions, you will need a third filter to separate those materials, but the core design stays the same.
Mastering Fluid Automation with Pumps and Pipes
Solid materials are only half the automation puzzle — Sandustry's fluid simulation means water, steam, and other liquids behave differently from sand and require their own transport infrastructure. The Hydro Sponge machine absorbs water from surrounding tiles and outputs it as a liquid stream, which you can then route through pipes to wherever you need it. This matters because water is essential for producing steam, which drives many advanced machines and processing chains.
The fluid system operates on a pressure-based model: water flows from high-pressure areas to low-pressure areas, and pipes maintain pressure based on their length and the number of pumps attached. A short pipe run with a single pump maintains adequate pressure, but long runs require additional pumps spaced at regular intervals to prevent flow stalling.
| Fluid Setup | Max Pipe Length | Pressure Stability | Recommended Use |
|---|---|---|---|
| Single pump, no boosters | 8 tiles | Low | Short runs, early game |
| Pump + booster every 6 tiles | 24 tiles | Medium | Medium factory loops |
| Multiple pumps in parallel | 40+ tiles | High | Large-scale production |
| Loop with return line | 30 tiles | Very High | Closed water cycles |
The table above shows how different pump configurations affect your fluid transport capacity, and you will notice that parallel pump setups offer the best stability for large factories. However, they also require more space and resources, so weigh the cost against your immediate production needs before committing to a complex layout.
Setting Up a Steam Production Loop
Steam is one of the most valuable resources in Sandustry because it powers advanced machines and enables high-tier processing chains. To automate steam production, you need three components: a water source, a heating element, and a collection system. The Boiler machine heats water to its boiling point, converting it to steam that rises and can be captured by a Hydro Sponge positioned above the boiler.
Community testing shows that a single boiler with two Hydro Sponges produces enough steam to sustain a medium-sized factory, provided you maintain a steady water supply. The key is to recycle the steam after use — when steam condenses back into water, you can route it back into your boiler input, creating a closed loop that minimizes water consumption.
Managing Water Levels and Pressure
Water management is the most common failure point in automated factories, because the simulation physics mean water can drain away or evaporate if you do not monitor it carefully. The Hydro Sponge absorbs water from surrounding tiles, which means it can deplete a small reservoir quickly if you draw too much. To prevent this, build your water intake near a large body of water or create a recycling loop that returns condensed steam to your main reservoir.
Players report that maintaining a minimum water level of three tiles around your intake point prevents most flow issues, because the simulation needs that buffer to maintain consistent absorption rates. If you notice your production slowing down, check your water levels first — they are the most likely culprit.
Scaling Up with Advanced Sandustry Factory Layouts
Once your basic automation loop runs smoothly, the next challenge is scaling up to produce larger quantities of processed materials. This is where Sandustry smart factory design comes into play, because you need to coordinate multiple production lines, manage resource allocation, and prevent bottlenecks before they stall your entire operation. The key insight is that scaling is not just about adding more machines — it is about designing layouts that minimize travel time and maximize machine utilization.
A well-designed factory layout follows the modular principle: each production stage occupies its own zone, with conveyors moving materials between zones in a linear flow. This approach makes it easier to identify bottlenecks because you can see exactly where materials pile up and which machines are underutilized.
| Factory Size | Machines Needed | Production Output | Space Required | Complexity |
|---|---|---|---|---|
| Starter (1 line) | 3-4 | 10 pixels/min | 15 tiles | Low |
| Medium (3 lines) | 10-12 | 35 pixels/min | 50 tiles | Medium |
| Large (6 lines) | 25-30 | 80 pixels/min | 120 tiles | High |
| Mega (10+ lines) | 50+ | 150+ pixels/min | 300+ tiles | Very High |
The table above gives you a rough sense of what each factory size requires, and you will notice that the resource investment grows non-linearly — a mega factory needs more than three times the machines of a large factory for less than double the output. That diminishing return means you should scale incrementally, adding production lines only when your current setup consistently runs at full capacity.
Planning Production Zones
Each production zone should handle one stage of your manufacturing process, with clear boundaries between zones to prevent material mixing. A typical layout has four zones: extraction (Grabbers and mining), processing (Smelters and Sifters), assembly (advanced machines), and storage (hoppers and warehouses). Conveyors connect these zones in a straight line, with filters at each boundary to ensure only the correct materials pass through.
Community reports suggest that leaving a two-tile gap between zones prevents accidental material spillover and makes it easier to expand later. You can also use walls or barriers to physically separate zones, although this consumes extra space and resources.
Avoiding Common Scaling Mistakes
The most common scaling mistake is overbuilding extraction capacity without matching processing power — you end up with mountains of raw sand and no way to convert it into valuable materials. Always balance your Grabber count against your Smelter and Sifter capacity, and add processing machines before expanding extraction.
Another frequent issue is conveyor congestion at merge points, where multiple belts converge into a single line. If you notice pixels backing up at a merge point, add a second parallel belt or install a filter to reduce the volume flowing through that bottleneck.
Optimizing Sandustry Drone Routes for Maximum Efficiency
Drones represent the pinnacle of Sandustry automation, because they can transport materials across long distances without the infrastructure requirements of conveyor belts. A drone flies from a loading station to a delivery station, carrying a set number of pixels per trip, and you can configure its route to visit multiple stations in sequence. This makes drones ideal for connecting distant production zones or delivering materials to machines that are hard to reach with belts.
The tradeoff is that drones have limited carrying capacity and take time to travel between stations, so you need to balance their number against your production throughput. According to community data, a single drone carries 20 pixels per trip and travels roughly 10 tiles per second, which means a drone serving a 50-tile route completes a round trip in about 10 seconds.
| Route Type | Drones Needed | Throughput (pixels/min) | Best For |
|---|---|---|---|
| Point-to-point (short) | 1-2 | 120-240 | Connecting nearby zones |
| Point-to-point (long) | 3-4 | 180-240 | Distant production areas |
| Multi-stop loop | 4-6 | 240-360 | Distributing to multiple machines |
| Hub-and-spoke | 6-8 | 360-480 | Large factory networks |
The table above compares different Sandustry drone routes, and you will notice that hub-and-spoke designs offer the highest throughput but require the most drones. For most factories, a multi-stop loop provides the best balance of efficiency and resource investment, because it lets a single drone serve multiple delivery points without excessive travel time.
Setting Up Drone Loading and Delivery Stations
A drone network requires two types of stations: loading stations that accept materials from conveyors and delivery stations that deposit materials into machines or storage. You place a loading station at the end of a production line, and the drone automatically picks up available materials when it arrives. Delivery stations work similarly, depositing their cargo into an adjacent machine or hopper.
The key to efficient drone routes is minimizing empty travel time — you want each drone to spend as much time carrying materials as possible. This means positioning loading and delivery stations close together when possible, and using multiple drones on long routes so that one is always loading while another is delivering.
Coordinating Drones with Conveyor Networks
Drones work best as a complement to conveyor belts, not a replacement. Use belts for short, high-volume transport within a production zone, and reserve drones for long-distance connections between zones or for delivering materials to machines that are difficult to reach with belts. This hybrid approach gives you the speed of belts for local transport and the flexibility of drones for global logistics.
Players report that a hybrid system with two drones and short belt runs handles medium-sized factories efficiently, because the drones handle inter-zone transport while belts manage intra-zone movement. As your factory grows, you can add more drones to the network without redesigning your existing belt infrastructure.
Frequently Asked Questions
What is the fastest way to automate sand collection in Sandustry?
The fastest early-game approach is placing a Grabber directly against a sand wall with a conveyor beneath its output port. This setup collects three to four pixels per second automatically, which outpaces manual mining significantly. Add a second Grabber on the opposite side of the wall to double your collection rate without additional conveyor infrastructure.
How many drones do I need for a medium-sized factory?
A medium factory with three production zones typically needs four to six drones operating on multi-stop loop routes. This configuration delivers 240 to 360 pixels per minute, which matches the output of roughly ten Grabbers. Start with four drones and add more if you notice materials backing up at loading stations or machines waiting for deliveries.
Can I automate water collection without pumps?
Yes, the Hydro Sponge absorbs water from surrounding tiles without requiring pumps, making it the simplest automated water collection method. Place it adjacent to a water source and route its output through pipes to your machines. For larger operations, combine multiple Hydro Sponges with a recycling loop that returns condensed steam to your main reservoir.
What is the best factory layout for beginners?
Start with a linear layout that flows from extraction to processing to storage in a straight line. Place Grabbers at one end, route conveyors through Smelters and Sifters in the middle, and end with hoppers for storage. This design minimizes conveyor length, reduces jam risk, and makes it easy to expand by adding parallel lines as your production needs grow.
How do I prevent conveyor jams in my automation setup?
Conveyor jams happen when pixels back up at merge points or when downstream machines cannot keep up with input. Install filters at merge points to control flow, and always balance your extraction rate against your processing capacity. If jams persist, add a parallel belt or use a drone route to bypass the congested section entirely.