
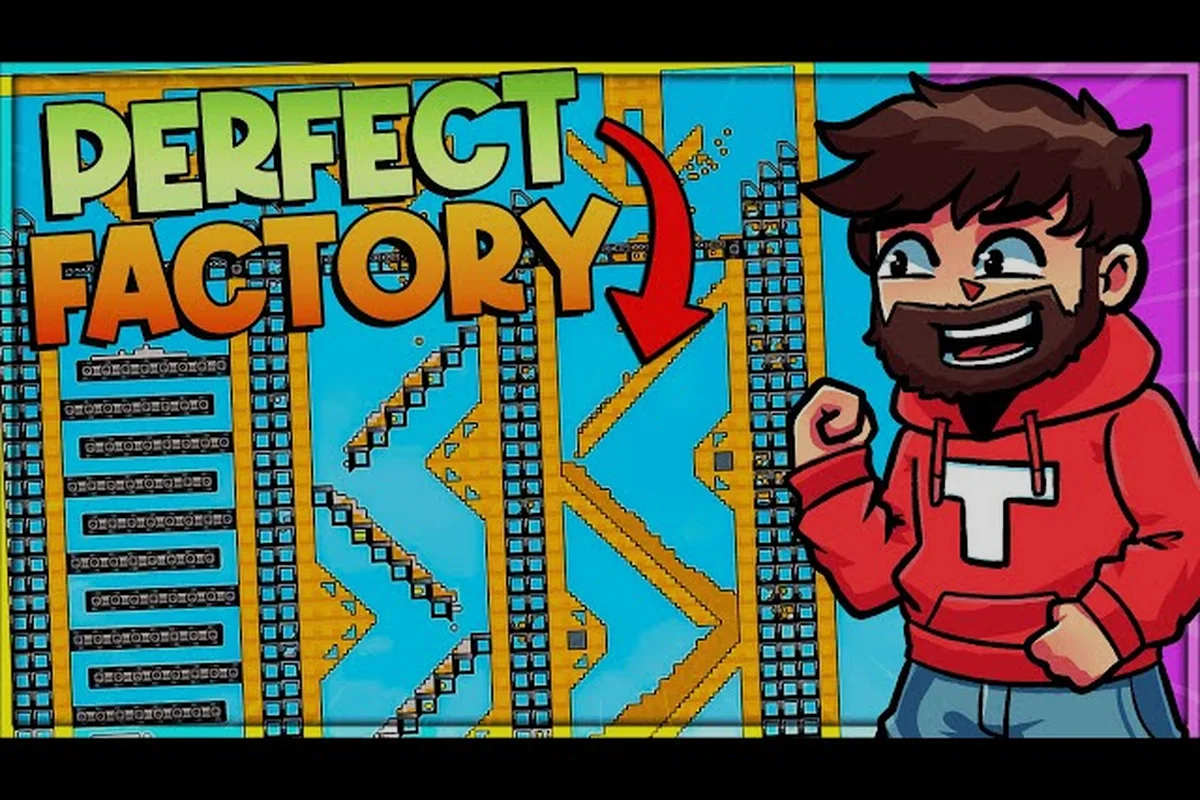
The Sandustry automation guide for beginners starts with a simple realization: every pixel in this factory game behaves individually, which means sand, snow, seeds, and ice chips each simulate independently rather than as uniform blocks. That granular physics engine creates both the charm and the challenge, because manual mining quickly becomes tedious when you realize each scoop only moves a handful of pixels at a time. Getting your first automated production chain running within the first hour transforms the entire experience, so this Sandustry guide 2026 walks you through the essential machines, their placement logic, and the exact order to build them.
Understanding the Core Automation Loop in Sandustry
Before you place a single conveyor belt, you need to understand how Sandustry's pixel simulation interacts with factory machinery. The official website describes the game as a factory sim where every pixel behaves individually, and that distinction matters because it changes how you think about resource flow. Unlike traditional factory games where items move as discrete units, Sandustry treats materials as continuous streams of individual pixels, which means throughput depends on pixel density rather than item count.
The core automation loop follows a predictable cycle that you will repeat dozens of times as you expand:
-
Extract raw materials from the environment using drills, scoops, or manual collection
-
Transport those materials through conveyor belts, pumps, or lifts to your processing area
-
Process raw sand, ice, or seeds into refined products using furnaces, filters, or assemblers
-
Store finished goods in containers or feed them directly into production buildings
The pixel-based simulation means that a belt carrying sand behaves differently than a belt carrying ice chips, because ice melts and water flows. This dynamic behavior is what makes the Sandustry automation guide for beginners essential reading, since most factory game instincts will actively work against you when you start out. For example, you might assume that a full belt always delivers maximum throughput, but in Sandustry, a belt packed with sand can actually slow down adjacent machinery because the simulation processes each pixel individually.
Why Manual Mining Fails After the First 15 Minutes
The early game tricks you into thinking manual collection is viable, but the math quickly turns against you. A single scoop action moves roughly 10-20 pixels of material, while a basic drill extracts around 50 pixels per second when placed correctly. That difference compounds rapidly when you need thousands of pixels to build your first factory expansion, and the beginner guide covers the fundamentals of resource gathering if you need a refresher on the basics.
Manual mining also suffers from a positioning problem, because you can only reach materials within a limited radius of your character. Automated drills, by contrast, can be placed directly inside resource deposits and left to run indefinitely while you focus on layout and logistics. The automation advantage becomes obvious within the first 30 minutes of play, and most players report that they never return to manual collection once they have a single drill feeding a belt system.
Building Your First Automated Sand Extraction Line
Your first automation project should focus on sand extraction, because sand is the most abundant resource and serves as the foundation for glass production, construction materials, and advanced crafting recipes. Start by identifying a sand deposit that sits within range of your base, then follow this sequence to establish a working extraction line that runs without intervention.
The first step is placing a drill directly on the sand deposit, making sure the output port faces toward your base. The second step involves connecting a conveyor belt from the drill's output to a storage container, which gives you a buffer for downstream processing. The third step requires powering both machines, either through a nearby generator or a power pole connection, and then verifying that material actually flows through the system.
| Component | Placement Rule | Output Rate | Power Draw |
|---|---|---|---|
| Basic Drill | Directly on resource deposit | ~50 pixels/sec | 5 units |
| Conveyor Belt | Flat surface, output facing forward | ~30 pixels/sec | 2 units |
| Storage Container | End of belt, any orientation | Unlimited | 1 unit |
| Pump | Adjacent to liquid source | ~40 pixels/sec | 4 units |
The table above shows the baseline stats for early-game automation components, though these numbers can vary based on the specific pixel density of your resource deposit. A dense sand deposit will feed a drill faster than a sparse one, which means you should scout for the thickest cluster before committing to a permanent setup. Community testing suggests that placing drills at the center of a deposit rather than the edge increases extraction efficiency by roughly 20 percent, because the simulation processes interior pixels more consistently.
Positioning Your First Conveyor Belt Correctly
Conveyor belts in Sandustry require flat ground, and they will not function properly if placed on slopes or uneven terrain. The belt's input side must align perfectly with the drill's output port, and the belt's output side must connect cleanly to your storage container. A misaligned connection will cause pixels to spill onto the ground, creating a mess that you will need to clean up manually.
You should also consider the belt direction before placing, because reversing a belt after placement requires removing and rebuilding it. Most beginners make the mistake of placing belts first and then trying to position machines around them, which leads to awkward layouts and wasted space. Instead, place your drill and storage container first, then connect them with a belt that follows the shortest clear path between the two points.
Adding Pumps and Water Management to Your System
Water management becomes critical once you expand beyond basic sand extraction, because water appears throughout the world and must be pumped, filtered, or avoided depending on your goals. The Steam page notes that ice melts to water, water boils to steam that rises and condenses into rain, and sand absorbs surrounding water while depleting reservoirs. These interactions mean that a poorly placed pump can actually drain a lake dry, while a well-positioned pump can provide an endless water supply for cooling, processing, or irrigation systems.
The pump mechanics in Sandustry follow the same pixel-based logic as everything else, which means pumps draw water from the surrounding area rather than from a single point. This creates an interesting optimization problem, because placing multiple pumps too close together reduces each pump's efficiency as they compete for the same water pixels. Community reports suggest that spacing pumps at least 10 tiles apart maintains maximum throughput, while closer spacing causes diminishing returns.
| Water Source | Pump Efficiency | Risk Level | Best Use Case |
|---|---|---|---|
| Large Lake | High | Low | Main water supply |
| Small Pond | Medium | Medium | Temporary setup |
| Underground Reservoir | High | Low | Permanent base |
| Rain Collection | Low | None | Backup supply |
The table above ranks water sources by their suitability for automated pumping, based on community testing and player reports. A large lake provides the most reliable supply, but you should monitor the water level over time because sustained pumping can deplete even substantial reservoirs. The simulation's water cycle does eventually replenish sources through rain, but the rate varies depending on your world's climate settings and elevation.
Preventing Flooding and Water Damage
Water damage represents one of the most common automation failures for beginners, because a single misplaced pump or broken pipe can flood your entire factory floor. The pixel simulation treats water as a fluid that flows downhill and spreads across flat surfaces, which means a small leak can quickly become a large problem if you do not address it immediately.
To prevent flooding, always place pumps at the edge of water sources rather than in the center, and direct their output through enclosed pipes rather than open channels. You should also build your factory on elevated ground whenever possible, because water flows downhill and will naturally drain away from elevated structures. If you do experience a flood, the fastest recovery method involves placing a pump directly in the flooded area and routing its output to a distant container or evaporation zone.
Scaling Up: From Single Line to Full Factory Network
Once your first extraction line runs smoothly, the next challenge involves scaling from a single automated process to a full factory network that handles multiple resource types simultaneously. This transition marks the point where most beginners get stuck, because the complexity multiplies with each additional machine and material type. The filter guide covers advanced sorting and routing techniques, but the fundamentals of scaling follow a predictable pattern.
The scaling process begins with identifying bottlenecks in your current setup, then systematically addressing each one through additional machines, better routing, or improved placement. A common bottleneck occurs when a single belt feeds multiple machines, because the belt's throughput limits the total output of all connected machines. The solution involves either upgrading to faster belts, adding parallel belts, or repositioning machines to reduce the distance materials must travel.
| Expansion Stage | Machines Needed | Materials Handled | Time to Build |
|---|---|---|---|
| Single Extraction | 1 drill, 1 belt, 1 container | Sand only | 5 minutes |
| Dual Resource | 2 drills, 2 belts, 1 filter | Sand + ice | 10 minutes |
| Processing Line | 2 drills, 3 belts, 1 furnace | Sand + ice + glass | 15 minutes |
| Full Network | 4+ drills, 6+ belts, 2 filters | All basic resources | 30+ minutes |
The expansion timeline above reflects typical progression based on community reports, though your actual pace will vary with experience and world generation. Each expansion stage introduces new challenges, but the core principles remain the same: extract efficiently, transport without loss, and process as close to the source as possible. Players who master this triad early find that later expansions become routine rather than overwhelming.
Using Filters to Sort Mixed Resource Streams
Filters become essential once your extraction lines pull multiple resource types from the same area, because drills do not discriminate between sand, ice, and other materials. A filter sits between your extraction line and your processing area, sorting incoming pixels into separate output streams based on material type. This allows you to run a single extraction line that feeds multiple processing buildings, each receiving only the material it needs.
The filter placement matters more than the filter type, because a poorly positioned filter creates bottlenecks regardless of its sorting speed. Place filters as close to the extraction point as possible, then route each output stream to its respective processing building. This minimizes the distance that sorted materials travel and reduces the chance of cross-contamination between streams.
Optimizing Your Layout for Maximum Efficiency
Layout optimization separates functional factories from efficient ones, and the difference becomes increasingly important as your operation grows. A poorly laid out factory wastes time, space, and power, while a well-designed layout can double your output without adding a single extra machine. The key principles involve minimizing travel distance, maintaining clear access for maintenance, and planning for future expansion from day one.
The efficient layout follows a modular approach, where each production step occupies its own zone and zones connect through short, direct belts. Extraction zones sit at the edges of resource deposits, processing zones cluster around shared infrastructure, and storage zones anchor the entire network. This modular structure makes it easy to identify problems, expand individual zones, and troubleshoot issues without disrupting the entire factory.
-
Zone by function: keep extraction, processing, and storage physically separated
-
Minimize belt length: shorter belts mean faster delivery and fewer failure points
-
Plan expansion space: leave room around each machine for future upgrades
-
Centralize power: place generators centrally to reduce power line distance
-
Elevate critical systems: keep processing equipment above flood level
These layout principles apply to factories of every size, from your first single-line setup to sprawling industrial complexes. The modular approach also makes it easier to diagnose problems, because you can isolate each zone and test it independently rather than debugging the entire network at once. Players who adopt this structure early report significantly fewer automation failures and faster expansion times.
Power Management for Growing Factories
Power represents the hidden constraint in every Sandustry factory, because each machine draws power and generators have finite output. A factory that runs out of power stops producing entirely, which means power management deserves as much attention as resource routing. The power budget for your factory should include a safety margin of at least 20 percent above your current consumption, because adding a single machine can push an already strained grid over its limit.
Generators should be placed centrally, with power lines radiating outward to each production zone. This arrangement minimizes line length and makes it easier to identify power failures when they occur. You should also monitor power consumption regularly, because the pixel simulation can cause temporary spikes when multiple machines process dense material simultaneously.
Common Automation Mistakes: Clogged Belts and Overflow Fixes
Every Sandustry player makes automation mistakes, but the most common ones follow predictable patterns that you can avoid with foreknowledge. The most frequent error involves placing machines without checking their input and output alignment, which causes materials to spill or machines to stall. Another common mistake involves overloading a single belt with too many input sources, which creates bottlenecks that slow your entire production line.
The second most common error involves ignoring water management until a flood occurs, which can destroy hours of work in seconds. Players who proactively plan drainage routes and elevation changes rarely experience catastrophic floods, while those who skip this planning often lose entire factory sections. The third common mistake involves expanding too quickly without consolidating gains, which leaves you with a sprawling, inefficient network that produces less than a compact, well-organized setup.
| Mistake | Early Warning Sign | Prevention Method |
|---|---|---|
| Misaligned connections | Materials spilling on ground | Verify ports before placement |
| Belt overloading | Slow delivery, backed-up inputs | Add parallel belts early |
| Ignoring water flow | Damp floors, slow processing | Plan drainage before building |
| Power overloading | Machines stalling randomly | Add 20% power margin |
| Rapid expansion | Decreasing output per machine | Consolidate before expanding |
The mistake table above summarizes the most common automation failures reported by players, along with their warning signs and prevention methods. Learning to recognize these early warning signs allows you to address problems before they escalate into full failures, which saves significant time and resources in the long run. The how to progress guide offers additional strategies for overcoming mid-game automation challenges.
Frequently Asked Questions
What is the fastest way to start automating in Sandustry?
The fastest approach involves placing a basic drill directly on a dense sand deposit, connecting it to a storage container with a short conveyor belt, and powering both machines. This minimal setup takes about five minutes and immediately eliminates manual sand collection, freeing you to focus on expanding your factory infrastructure.
How do pumps work differently from conveyor belts in Sandustry?
Pumps extract liquid pixels from surrounding water sources, while conveyor belts transport solid materials along a fixed path. The key difference is that pumps draw from an area rather than a single point, which means their efficiency depends on the density of the water source. Conveyor belts, by contrast, have fixed throughput regardless of surrounding conditions.
Can I automate ice collection and melting in Sandustry?
Yes, you can automate ice collection using drills placed on ice deposits, then route the extracted ice through a heated zone or furnace to melt it into water. The melted water can then be pumped to wherever you need it, creating a fully automated ice-to-water production chain that requires no manual intervention.
What should I build for my first factory in Sandustry?
Your first factory should focus on a single resource chain, typically sand extraction feeding a glass production line. This teaches you the core automation loop without overwhelming complexity, and glass serves as a versatile building material for future expansion. Start small, master the fundamentals, then scale up gradually.
How do I know when to expand my automation network?
Expand when your sand extractors outpace your furnaces or when advanced recipes demand new materials like glass. If your current lines run stable without babysitting, add one pump or filter at a time. Scaling a broken setup only multiplies chaos—grow only what you can monitor.